If you’re new to editing, curious about editing, or have been a professional editor for 50 years, I think we can all agree that editing is a powerful force. The idea that you can burrow in a dark room, not leave for 12 hours, and come out with something beautiful that resonates with people is such a cool thing.
A quick note about me - I’ve been editing professionally for about 3.5 years, but I’ve been editing since I was twelve years old. I just finished editing my feature documentary about Laos, This Little Land of Mines, where you can see almost all the examples below. I mainly talk about documentary and advertising editing because that’s where the majority of my work lies. I’d like to get more into narrative editing, but I find documentary editing to be much more challenging and fun - because most of the film is made in the edit room as opposed to the writing room.
Most of my tips below are for documentary editing, but they are certainly translatable for narrative editing.

The Character Introduction
Story is king, and character drives story. People watch movies for lots of reasons, but one of the main ones is to feel less alone - to find something they can relate to on a conscious or subconscious level. When introducing a new character to the audience, take your time. Don’t pop them on the screen with a lower third, that doesn’t make them interesting. Show them doing something true to their character first. Create a montage. Have another character talk about them, foreshadow them for the audience. A specific example of this that I loved was in Netflix’s Wild Wild Country when they introduce the main character (Anand Sheela) deep into the show. In fact, all the editing in this series was incredible. It’s a huge inspiration to me.
Creating A Sense of Place
Just like with character, your audience also needs to be slowly introduced to the place. As an editor, it can be very easy to forget that your audience hasn’t been staring at this content/story for days, hours, weeks, or maybe even years. All they know is what you tell them. For my documentary about Laos, I had to constantly remind myself that I should assume 100% of my viewers have never been to Laos. They don’t know what it smells, sounds, or looks like. Giving audience a sense of place - mise-en-scène - is a holistic effort.
Leave Room for Sound and Score
I have to honestly say, this is a learned skill. It’s one of those things that is easier said than done, and requires a ton of discipline. I’ve heard it easier for those of us who come from a musical background (which turns out to be a ton of editors). I recommend using temp tracks - but don’t use ones you really love. Just use pieces that have the right tempo and mood - because regardless, you will spend time with these pieces and before you know it, completely bond and fall in love with them. Also - use a site that doesn’t have watermarks. I freaking love Epidemic Sound. Their customer service is attentive and kind. Also MusicBed, because of course. If you’re working with a score composer, ask them if they prefer to work with a rough cut or picture lock. They’ll appreciate it and it’ll make your collaborative partnership easier. A good composer can make your editing look even more amazing!
The Montage
We all know the montage. The most famous ones that come to mind are usually work-out montages, like the this well-known scene found in Rocky. What a great movie. Montages are an editing tool used to show the passage of time. They are usually accompanied by dialogue-less scenes and music. But there is more to montage than that. Montages can also be used to tell short stories, like the famous introduction of UP. Montages can be used as texture, which is something I’ve been using in my editing lately. Montages can be used to connect themes by juxtaposing different ideas back to back to help the audience connect two ideas.
The J-Cut
The J-Cut is one editing technique I use very often. If you’re an editor or getting into editing, you’ll hear the term J-Cut and L-Cut all the time (if you’re working with the right people!). A J-Cut is when the audio begins before the video. I use this in my film to hep create a sense of place (see #2). I let the audience hear the birds and river before the video shows it to them. Conversely, an L-Cut shows the video before showing sound, or while you’re still hearing the sound from the last clip. These cuts don’t always have to start from black, in fact, most times they are used in dialogue editing. A “J-Cut” means the video and audio in the timeline kind of form a “J” shape, while an “L-Cut” forms an “L” shape. In this video, one of my favorite youtube creatives Justin Odisho breaks it down for you. This technique will make your editing seem professional and much smoother.
Subtitles Are Your Friend
After making a feature film with subtitles, I have a lot to say about this subject. Subtitles don’t always have to be ugly type just slapped on top of your video. For my feature film (where you’re reading subtitles 90% of the time) I used Helvetica 91pt font and played around with the subtitles. I let them linger on the screen, I paced them in a way that they were easy to read. If you’re making a video that needs subtitles for it’s audience, I would make those subtitles part of the art. They’re a huge part of the experience, so the more you can integrate them instead of thinking of them as an after thought, the better the experience will be for your audience.
Throw your emotions into it.
Finally, my last bit of advice is to throw your emotions into it. There’s a subtle line between cheesy editing and powerful editing, so that’s why knowing your subject matter and audience are very important. But don’t be afraid to put yourself out there. Editing is an emotional art form. People are watching your video because they want to feel something. Anger, happiness, somber, enlightened, joy, comfort. Every edit should be justified. Be particular about every frame. Care about the details. Take pride in your work, no matter how big or small.

Bonus tip!
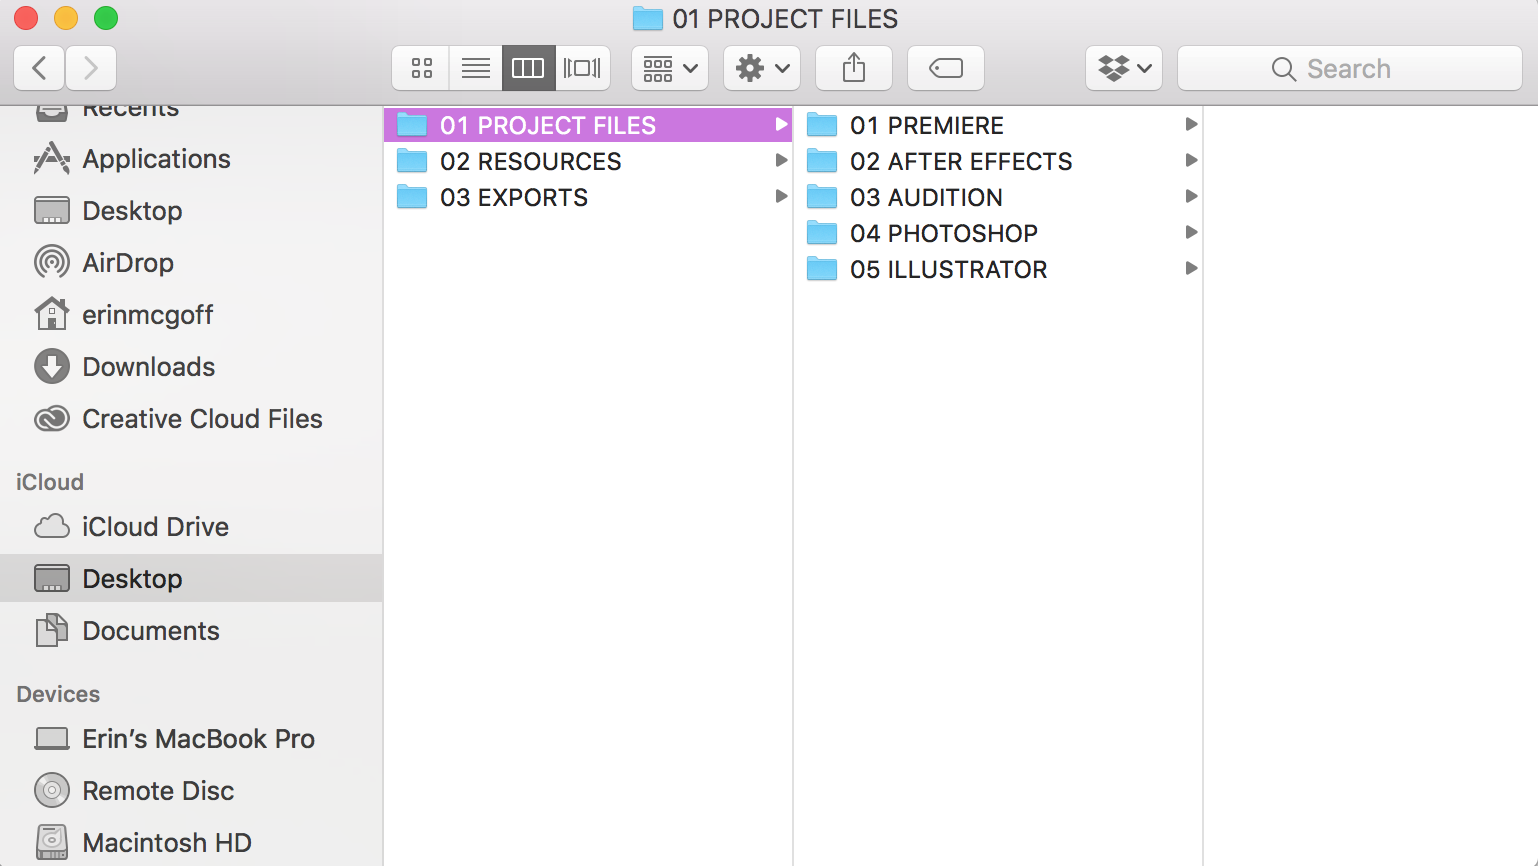
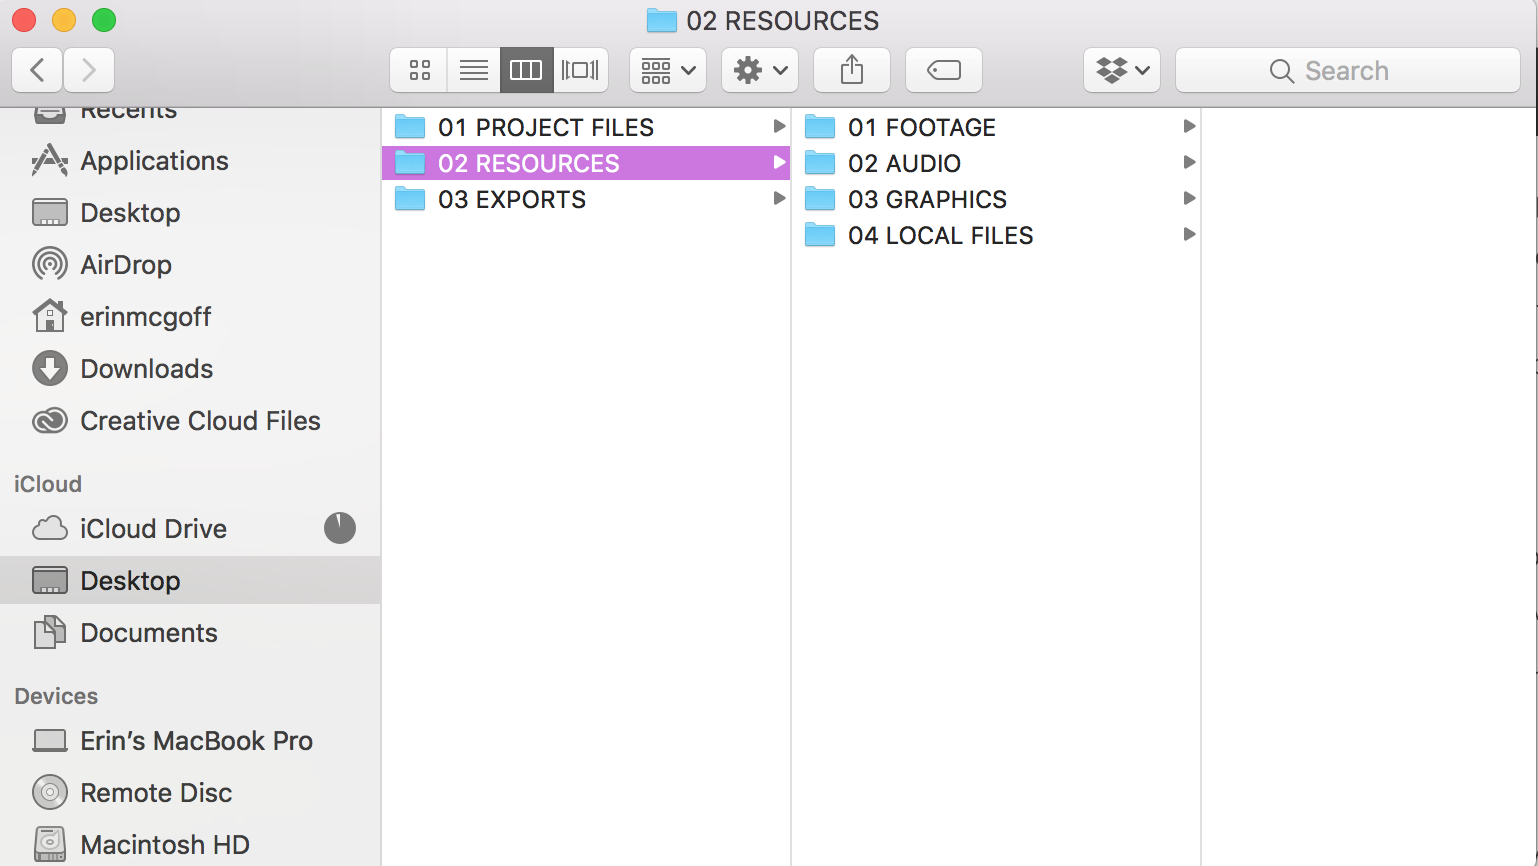
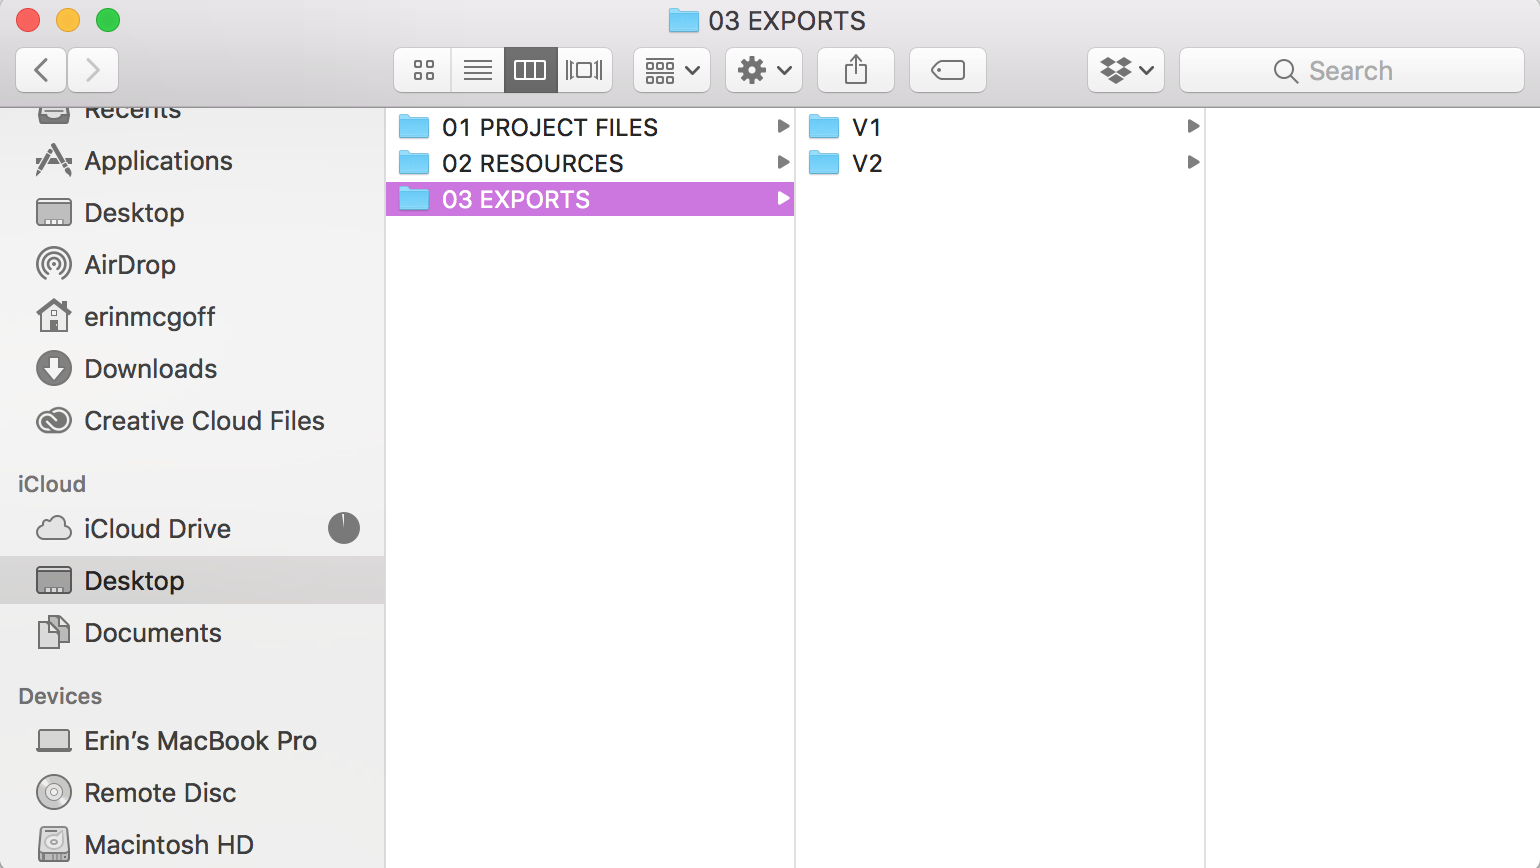
This isn’t really a tip, but I feel compelled to include it! I can’t believe I have to say this - but use external hard drives. I use a Mac and LaCies are the best drives I’ve ever worked with. I’ve also worked with storage cloud systems, drop box, and various raids. I prefer to work with LaCies that have external power source and don’t suck power from your computer. Organize your files. KEEP them organized. Align your Premiere organization with how it is organized on the hard drive. This is how I typically organize a drive: